
Maintenance
5 min read
5 Signs Your Garage Door Needs Professional Repair
Learn the warning signs that indicate your garage door needs immediate attention from a professional technician.
Read Article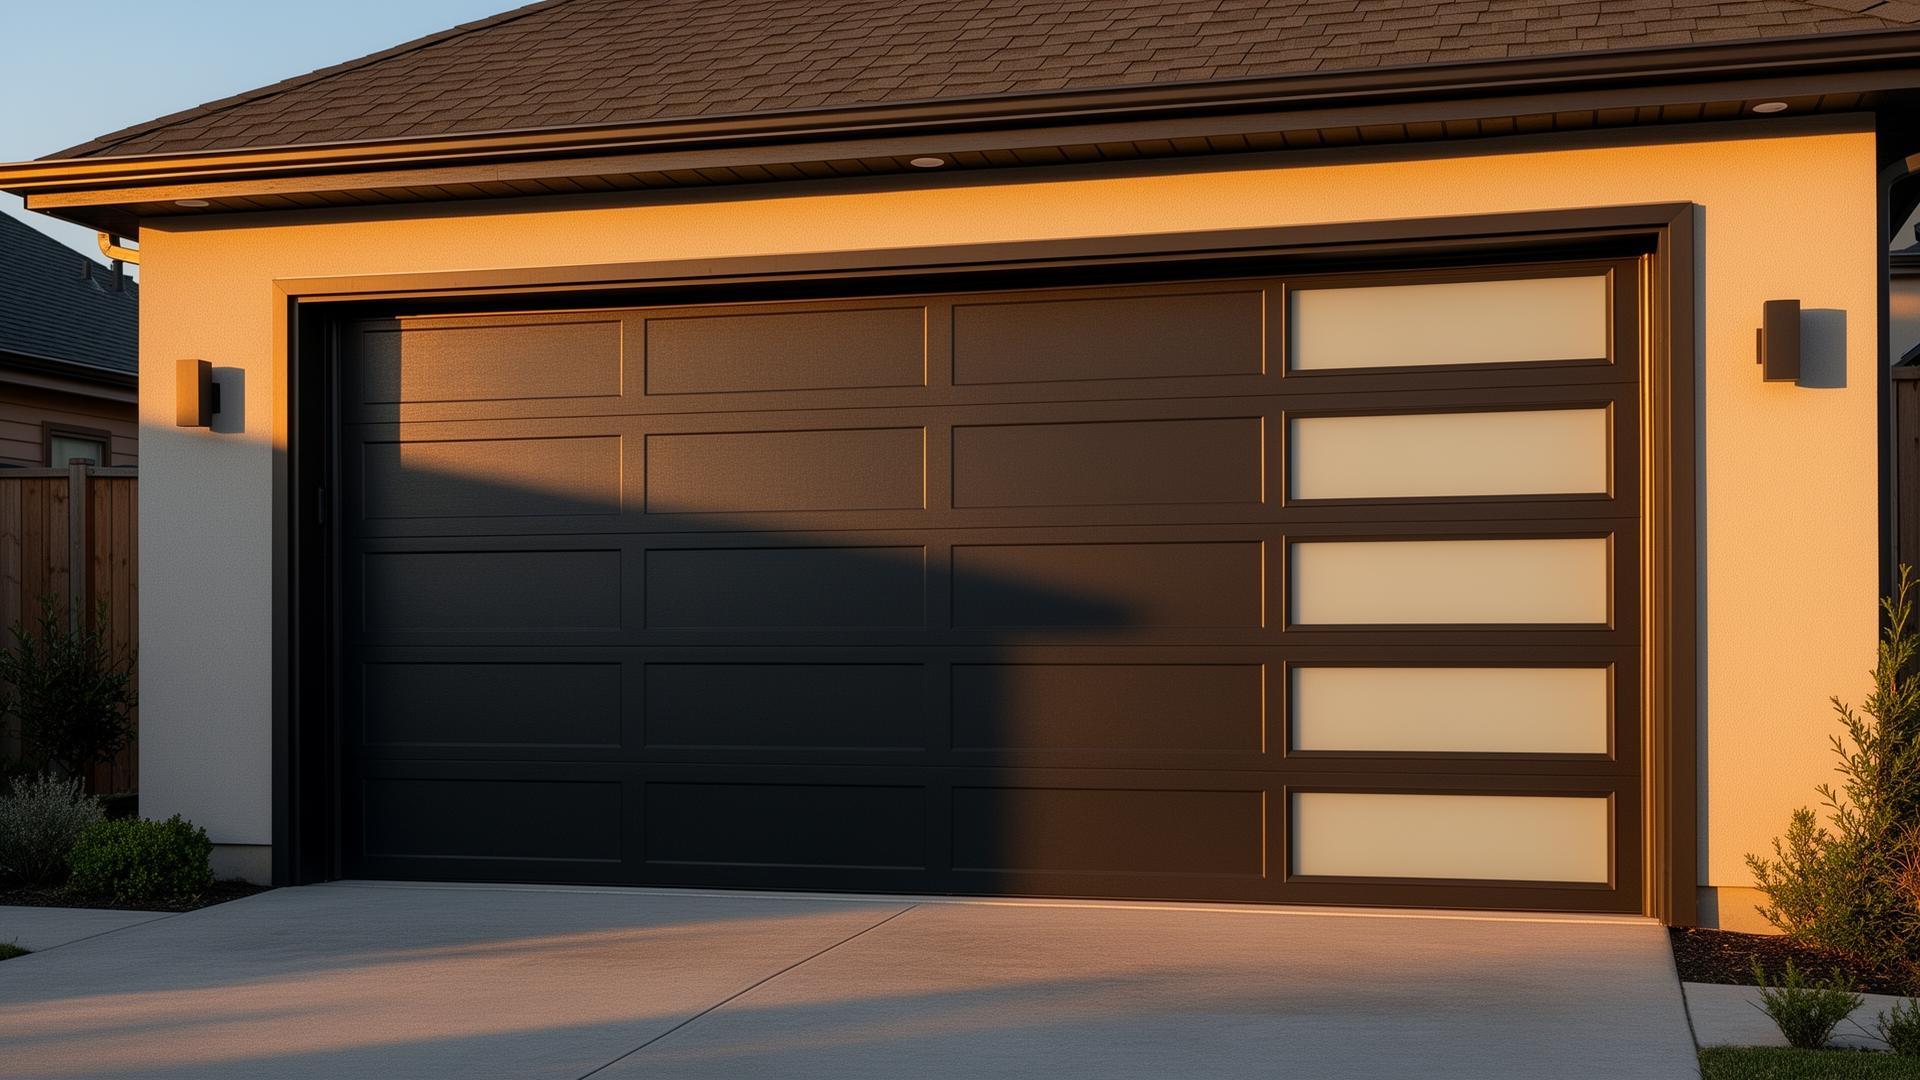
Expert installation, repair & maintenance. Trusted by thousands of homeowners.
Call Now - 24/7
(888) 285-4021
Fast response • No obligation
Trusted & Verified By
Military & First Responder Discount
Thank you for your service! Ask about our special rates.
From installation to emergency repairs, we provide comprehensive garage door solutions for every need.
Complete installation of residential and commercial garage doors with premium materials and expert craftsmanship.
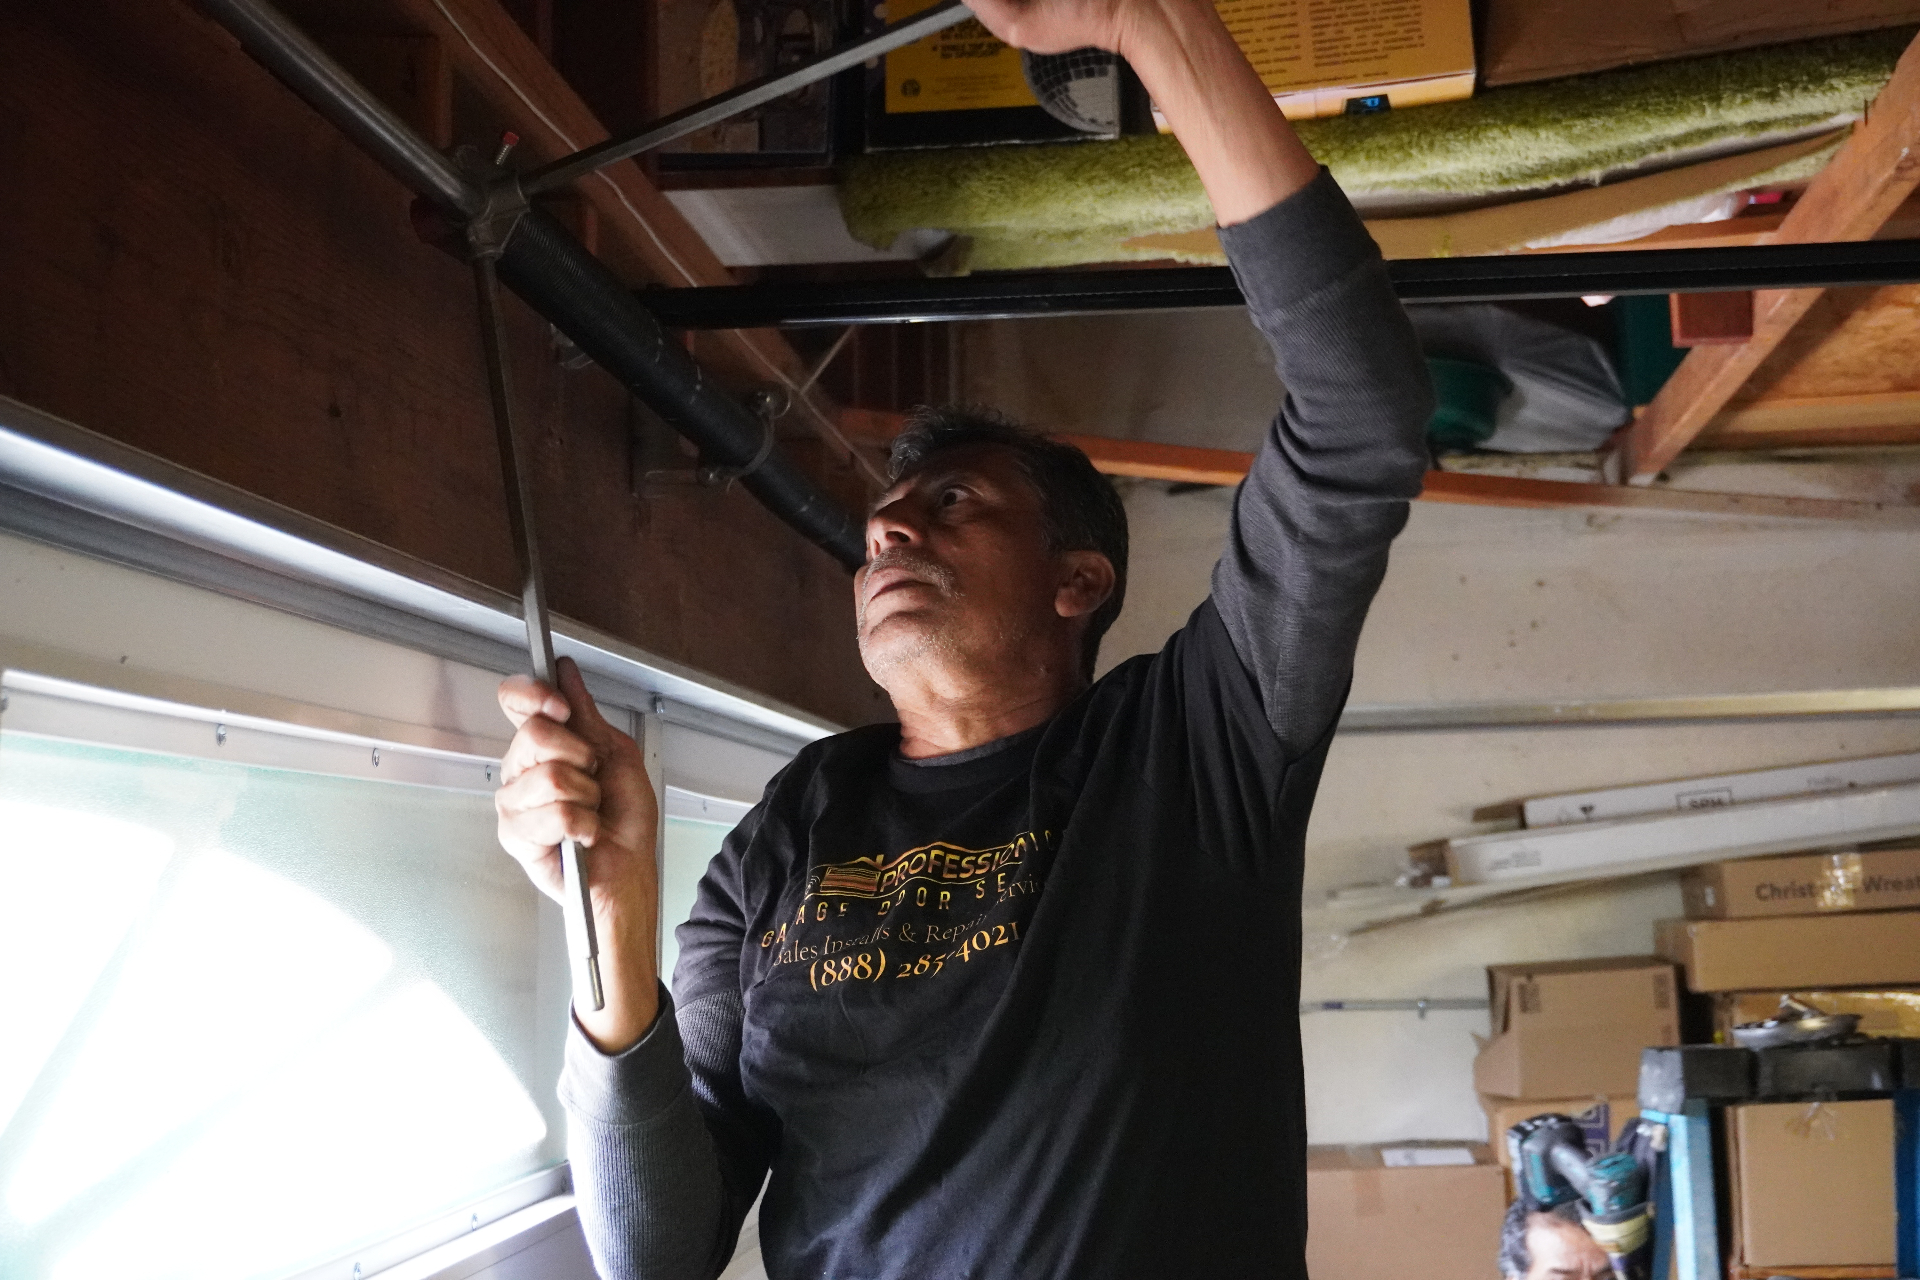
Fast, reliable repair services for all types of garage doors. We fix panels, tracks, cables, and more.
Safe and professional replacement of torsion and extension springs by trained technicians.
Installation and programming of smart garage door openers with the latest technology.
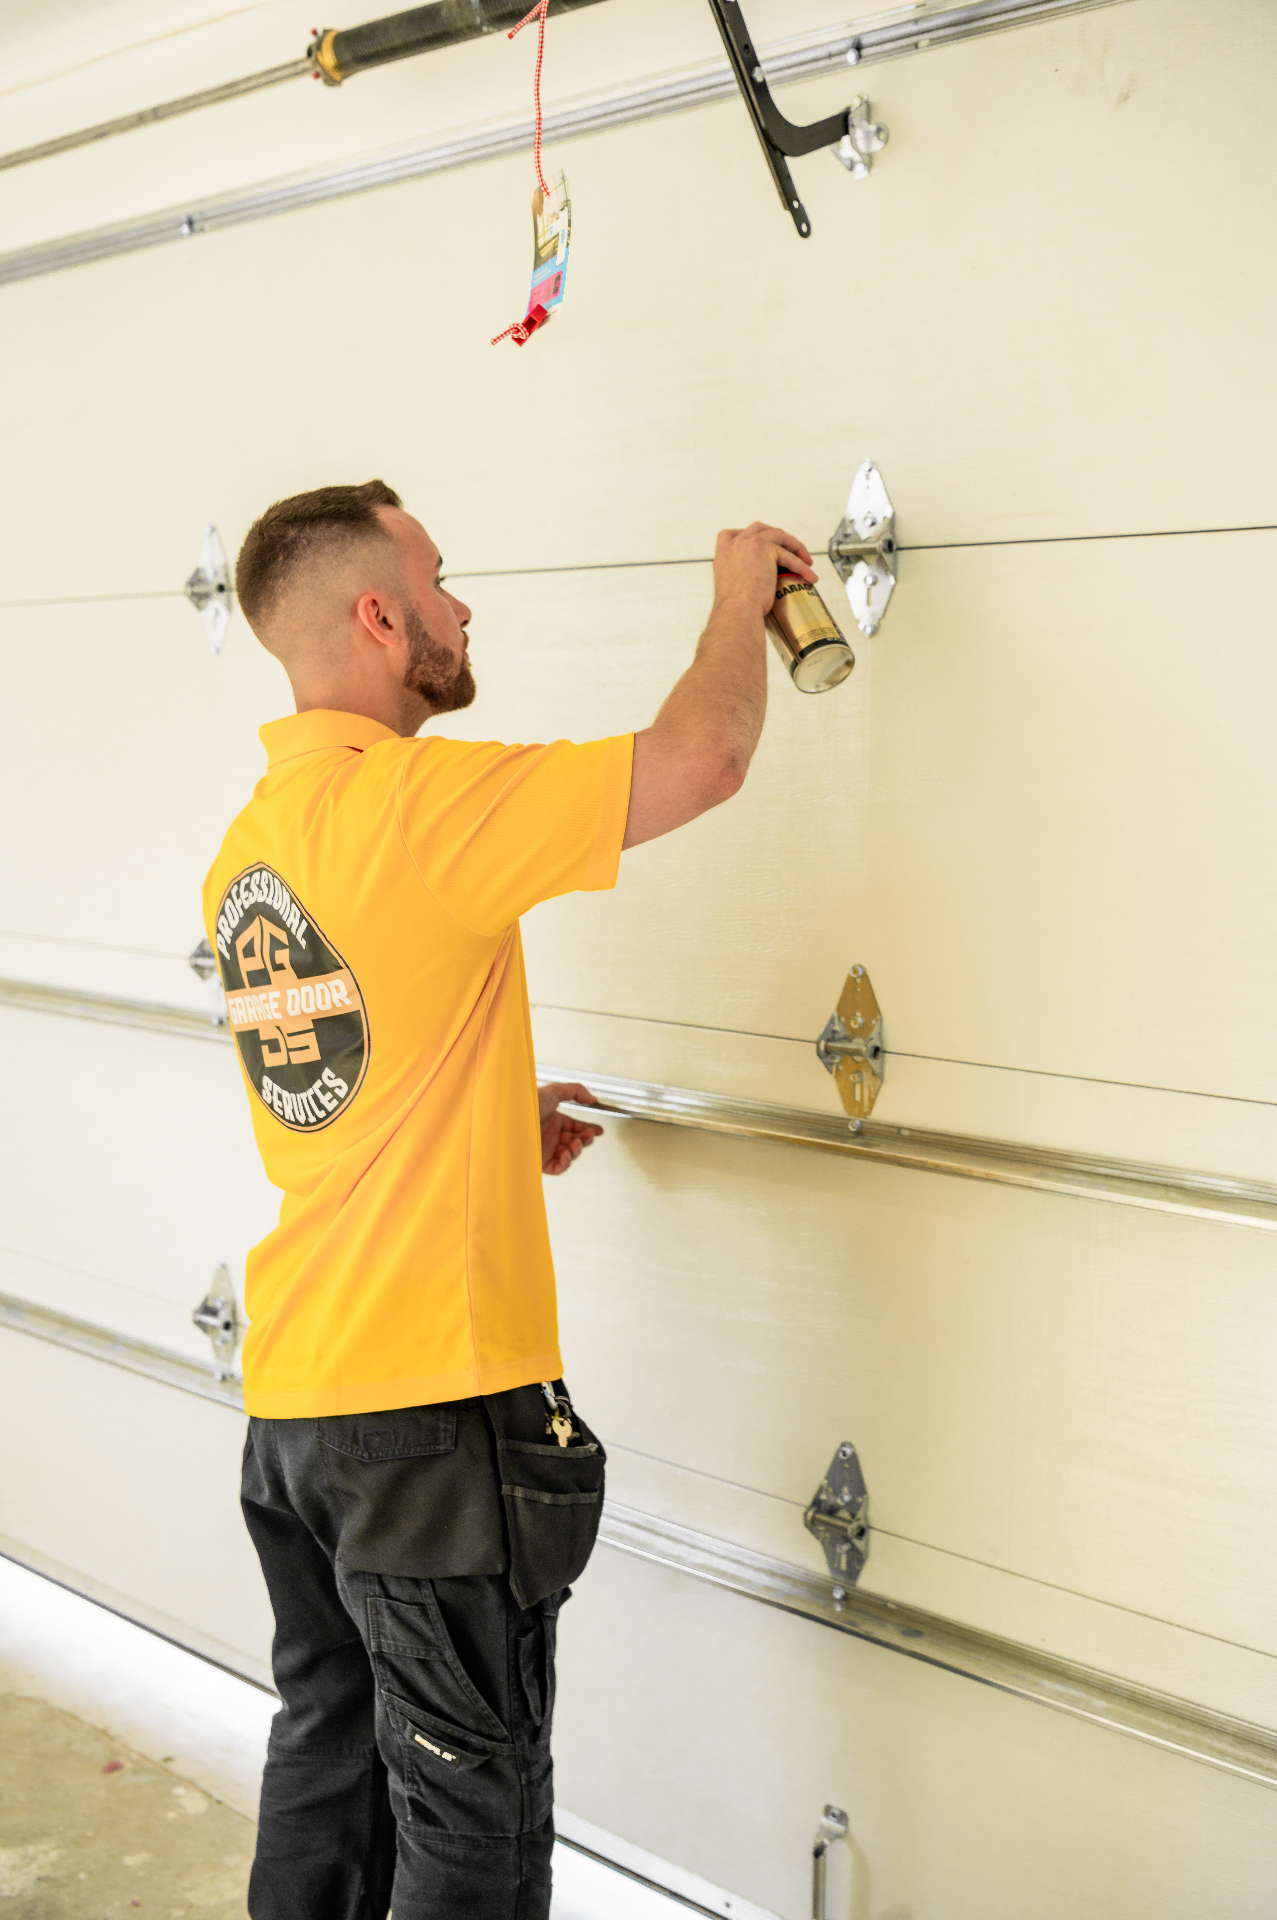
Regular maintenance programs to extend the life of your garage door and prevent costly repairs.
24/7 emergency repair services when you need us most. Fast response times guaranteed.
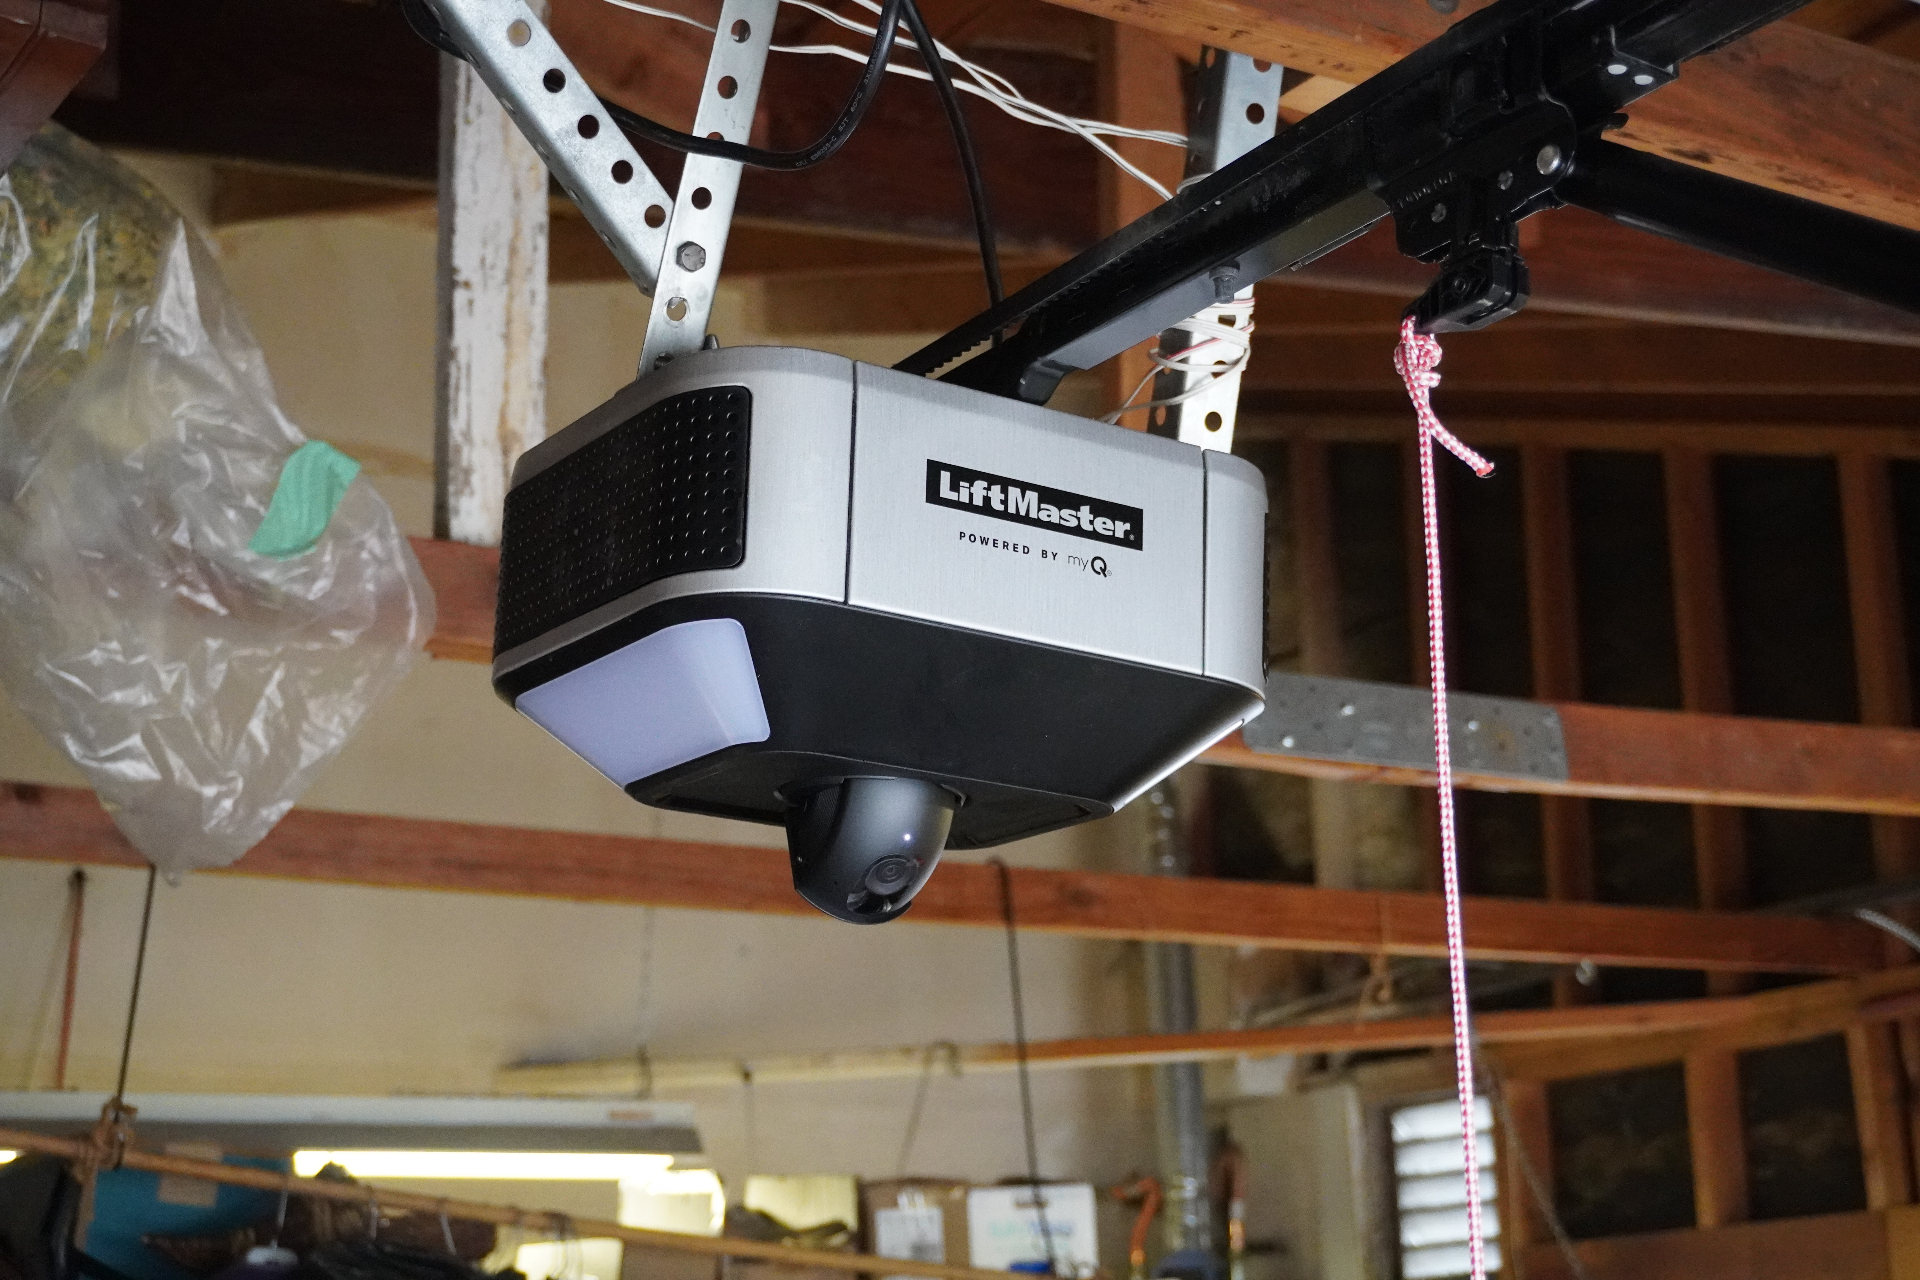
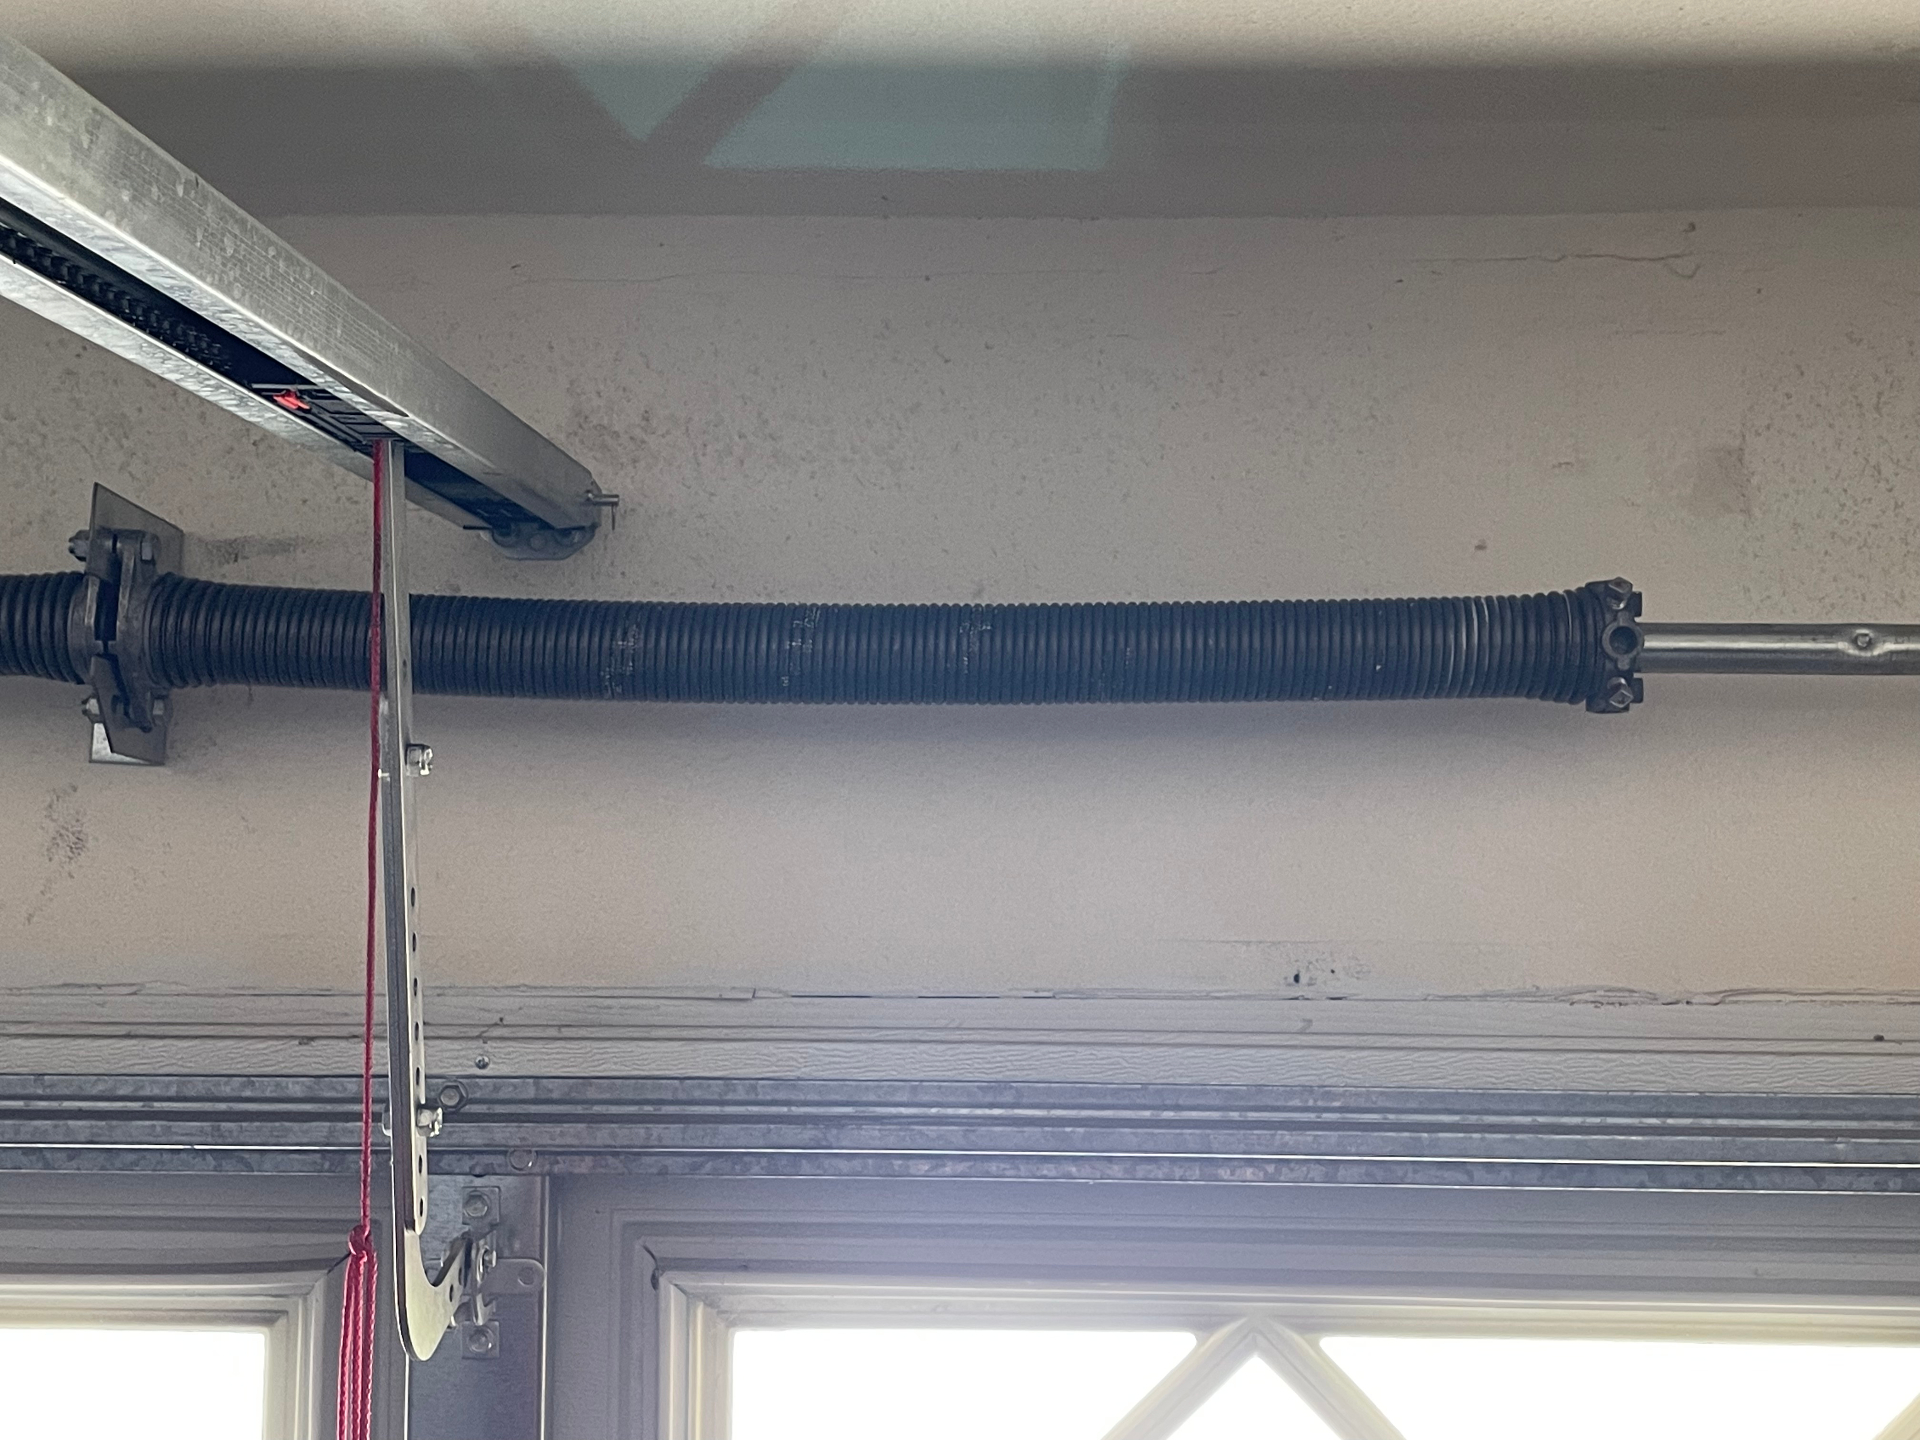
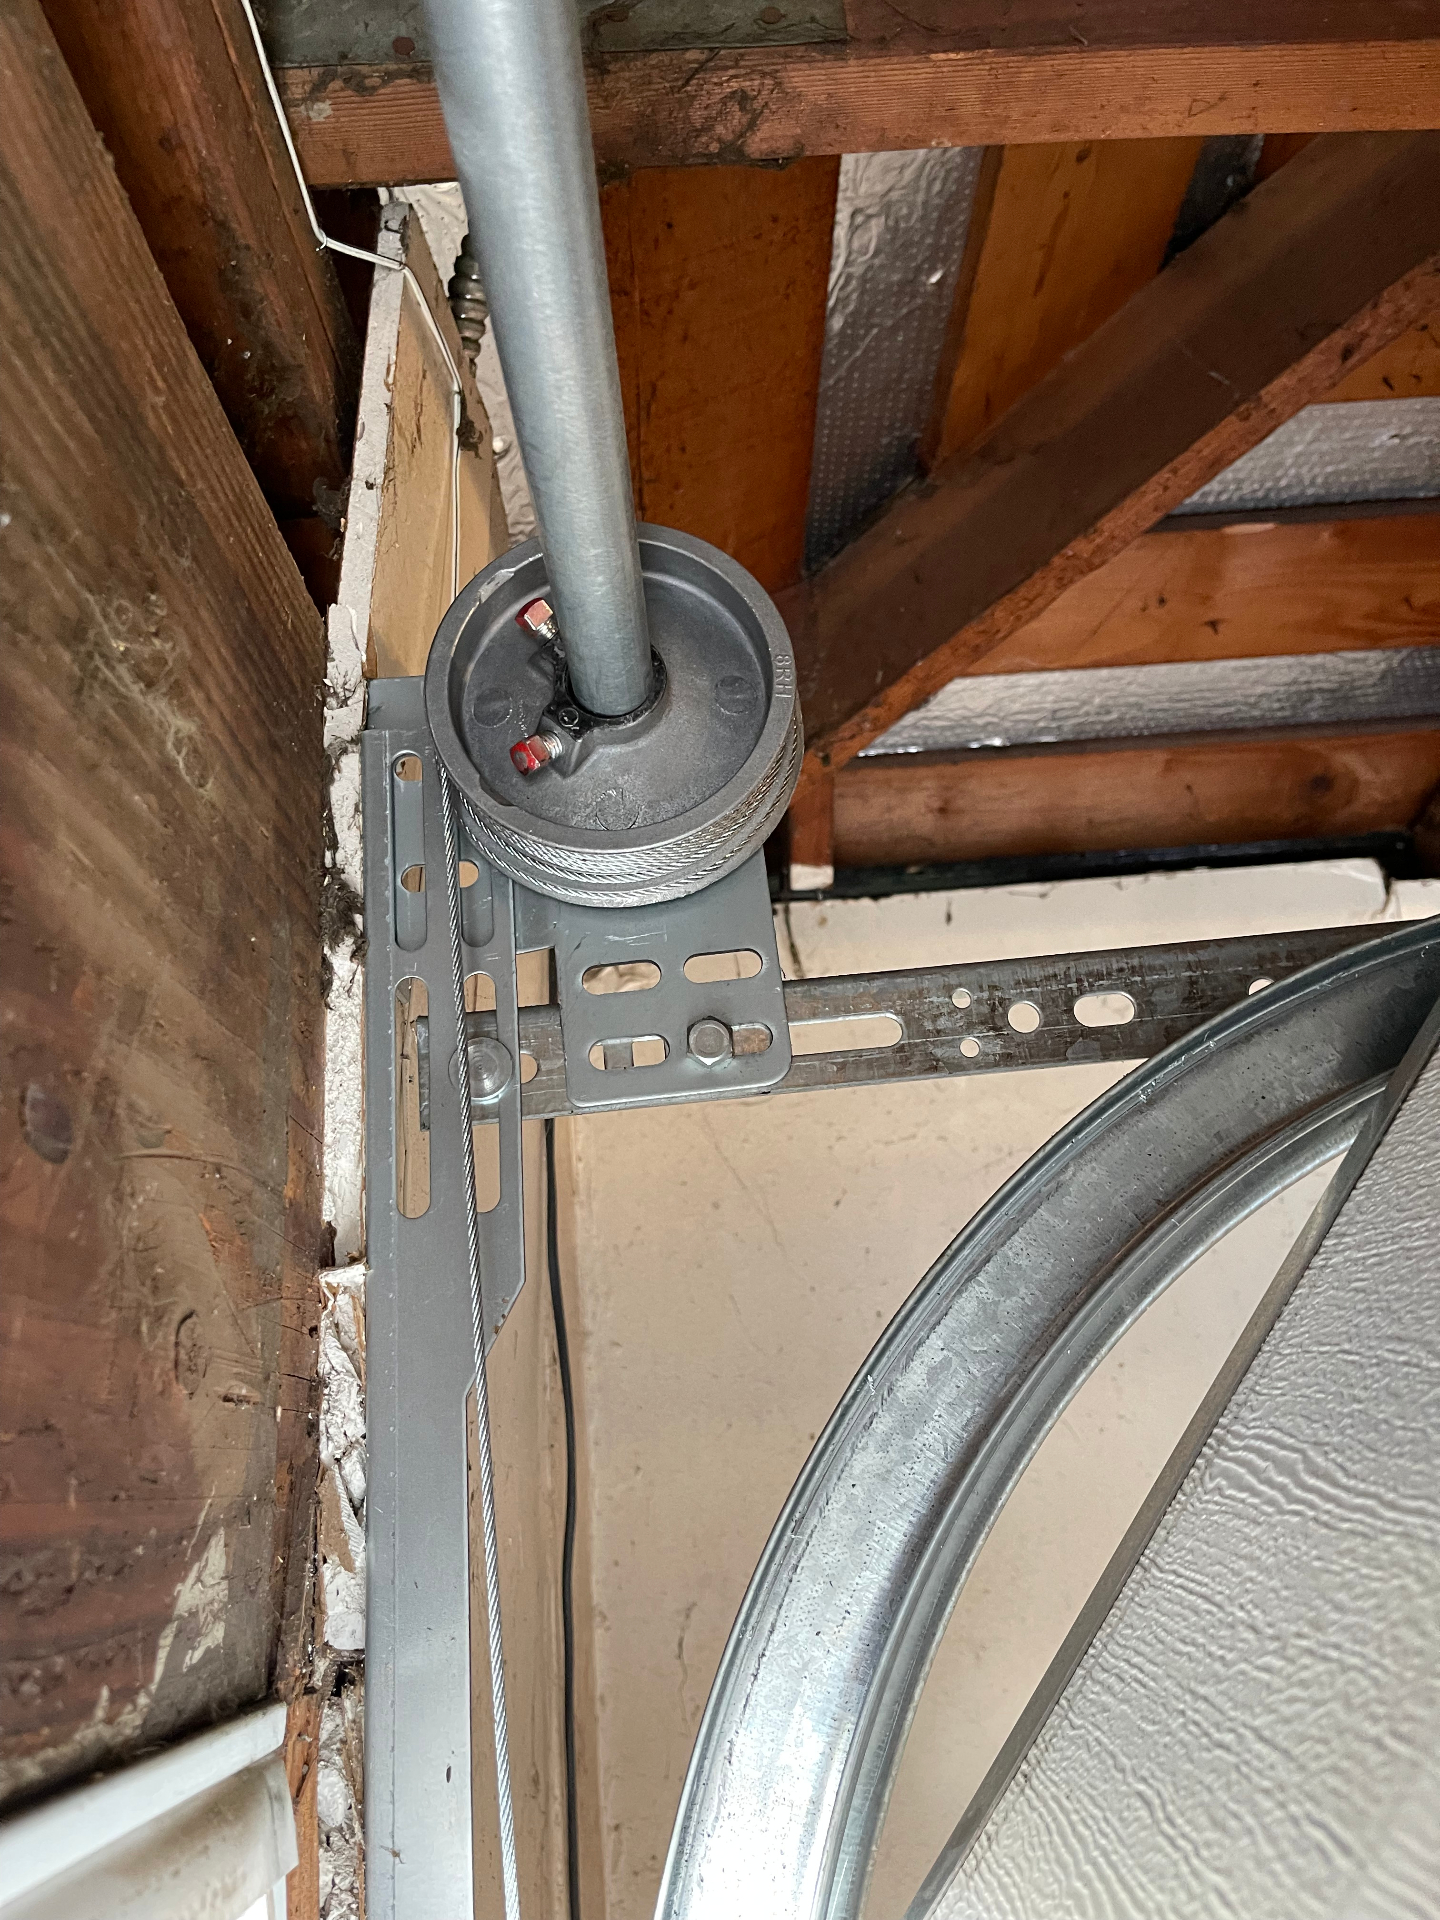
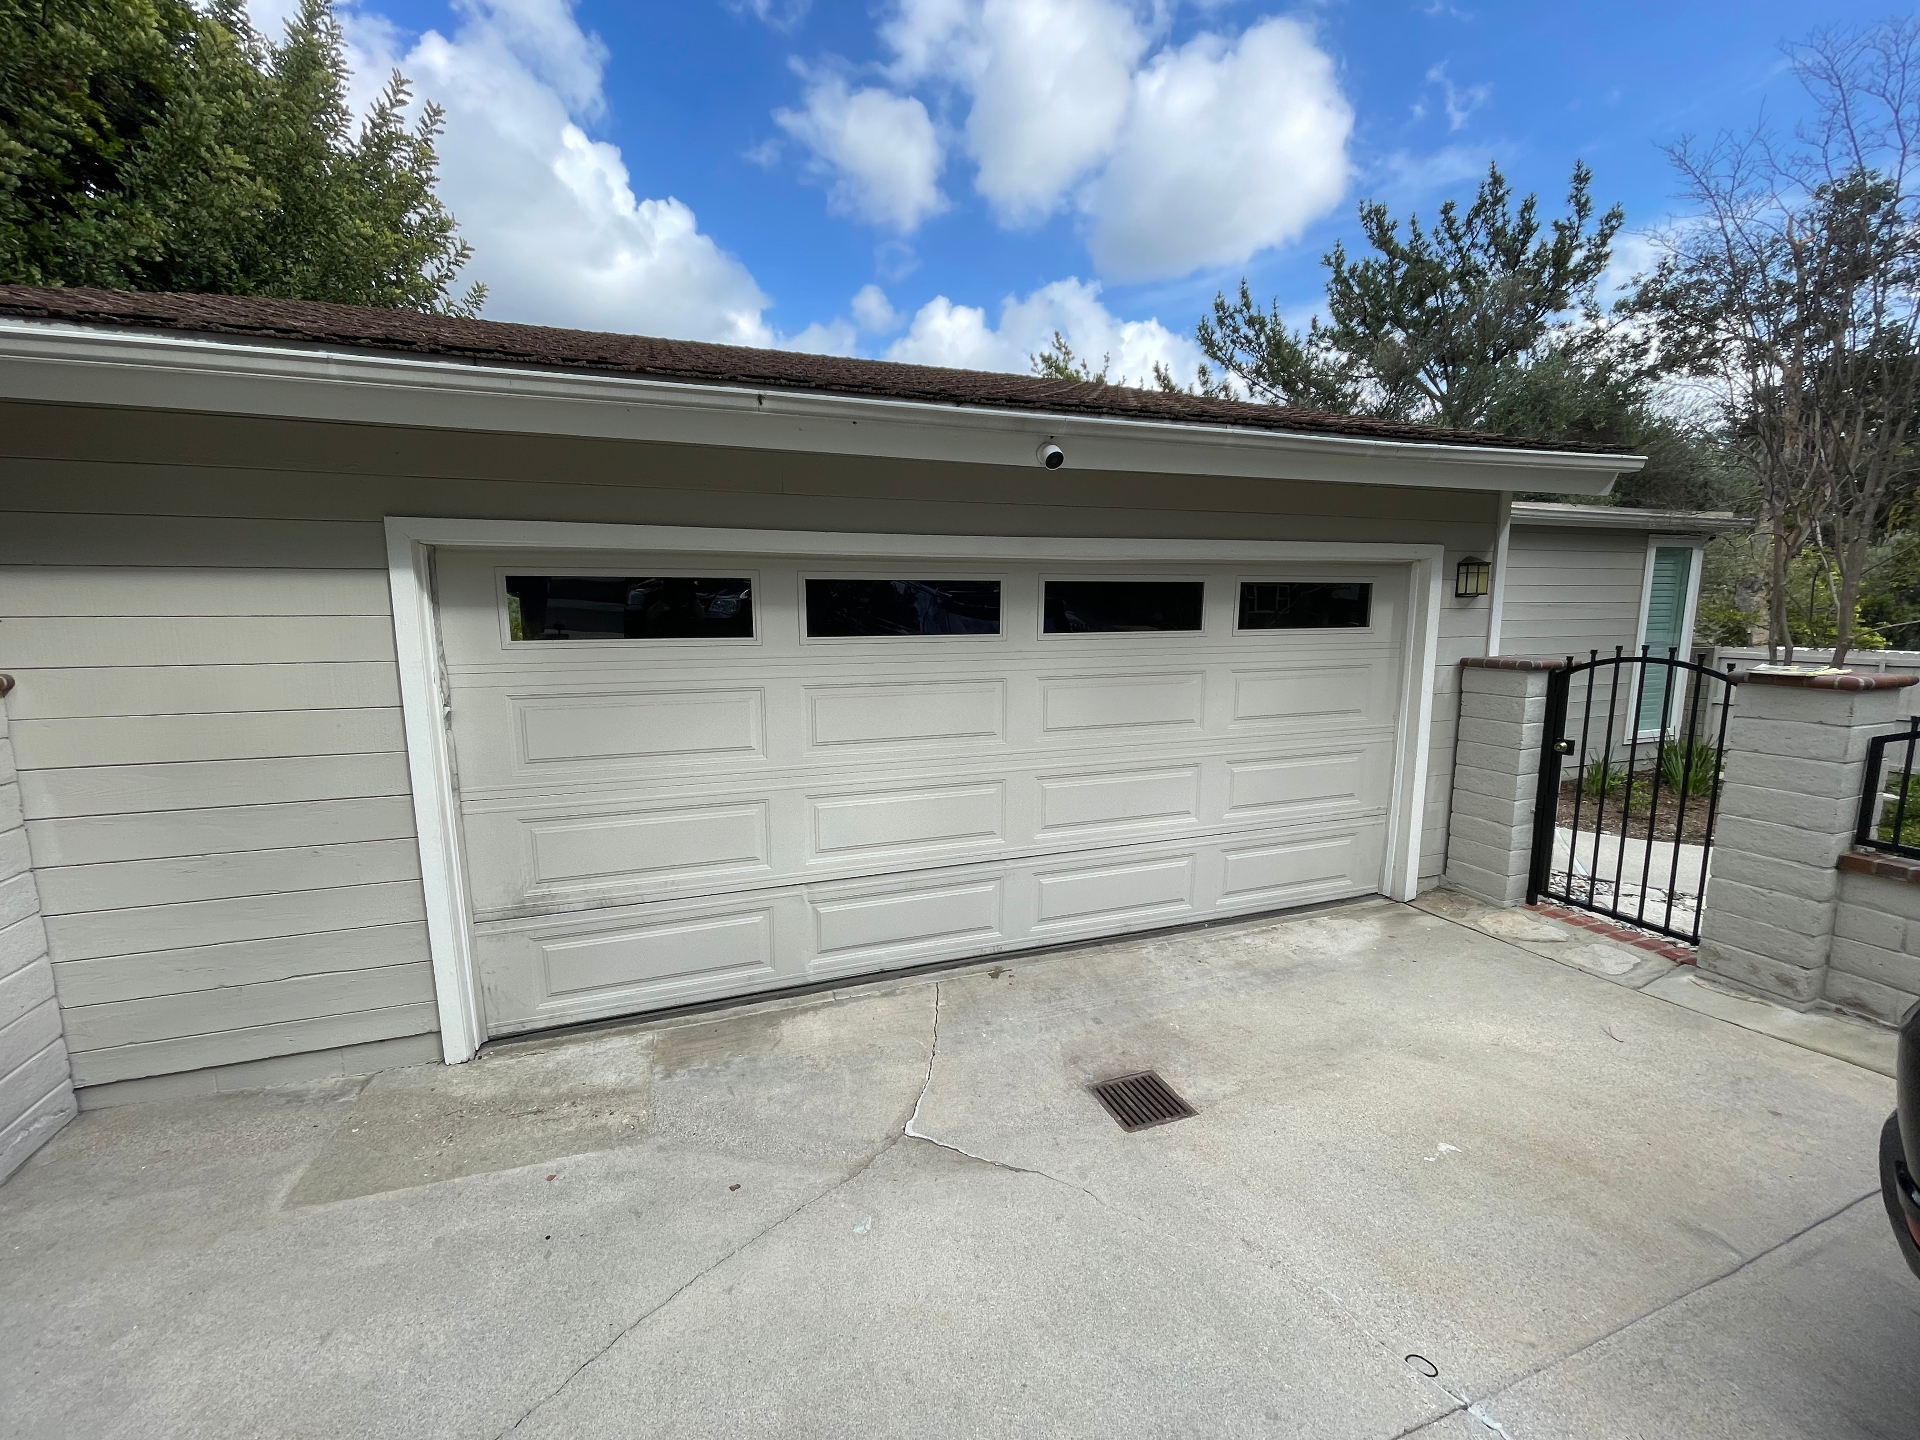
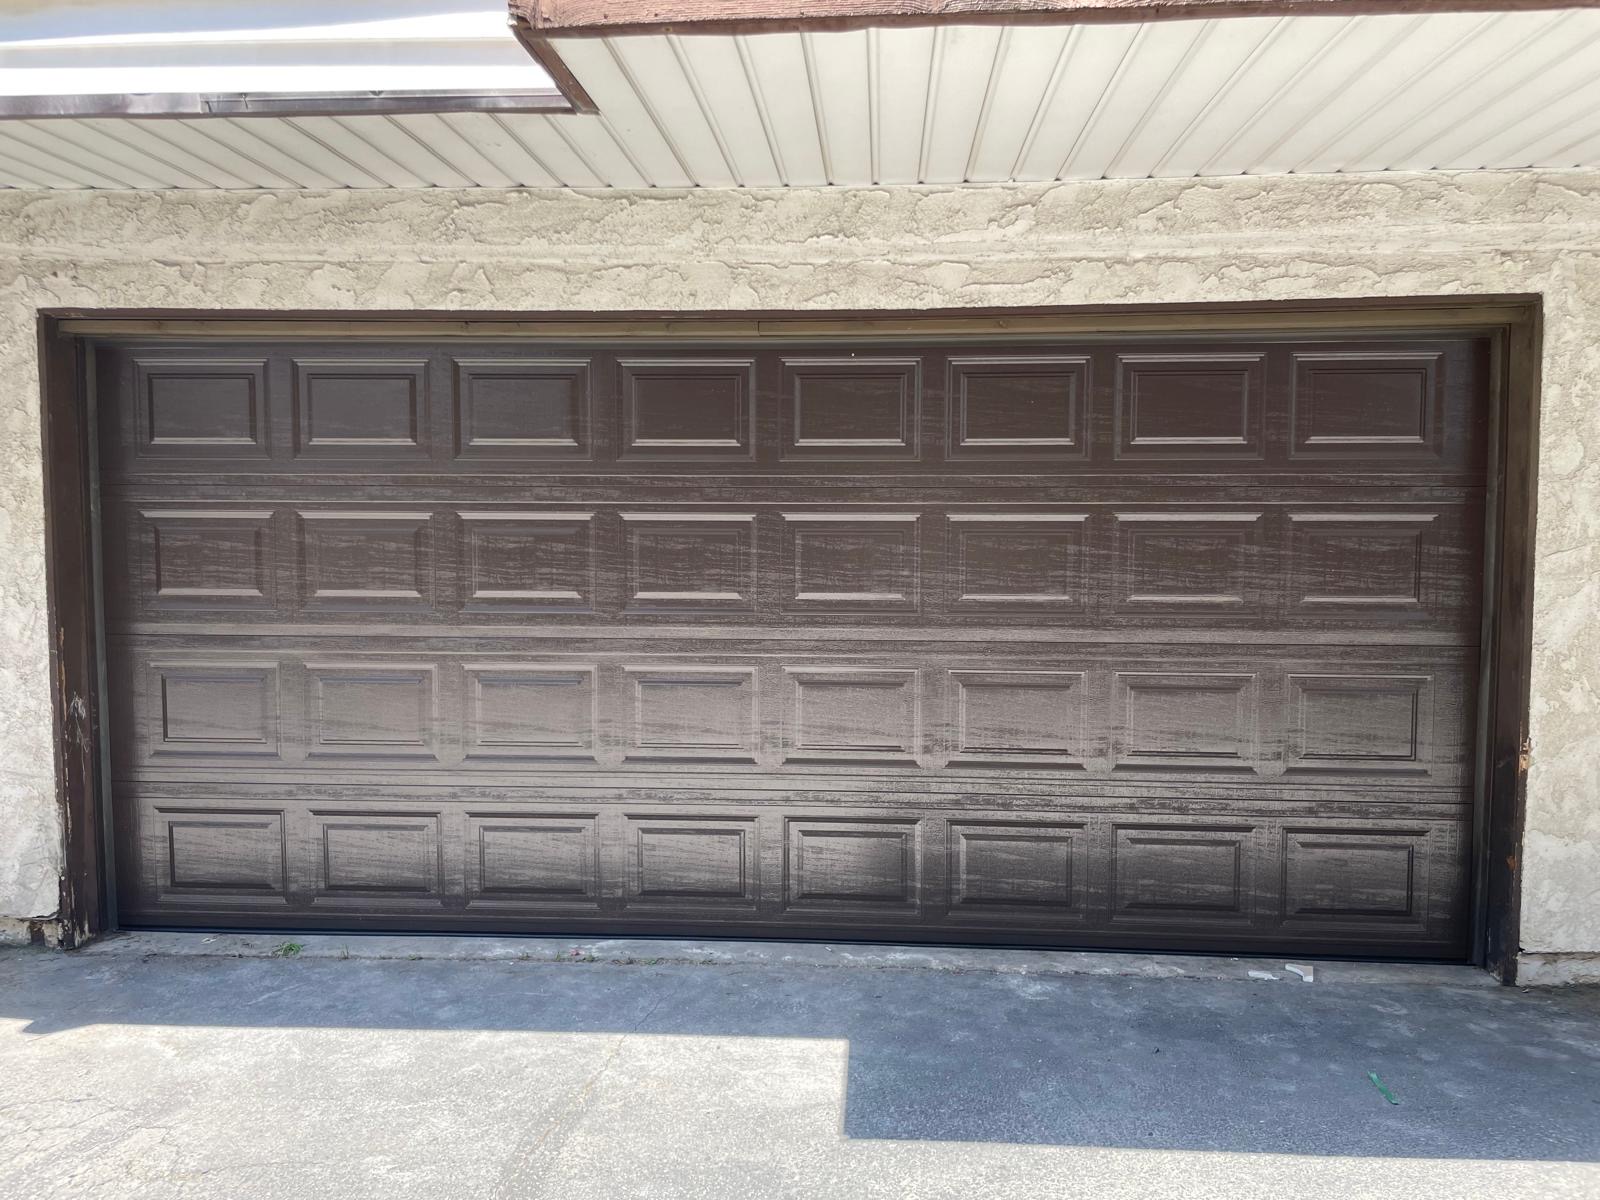
See the quality of our work. Professional installations and repairs.

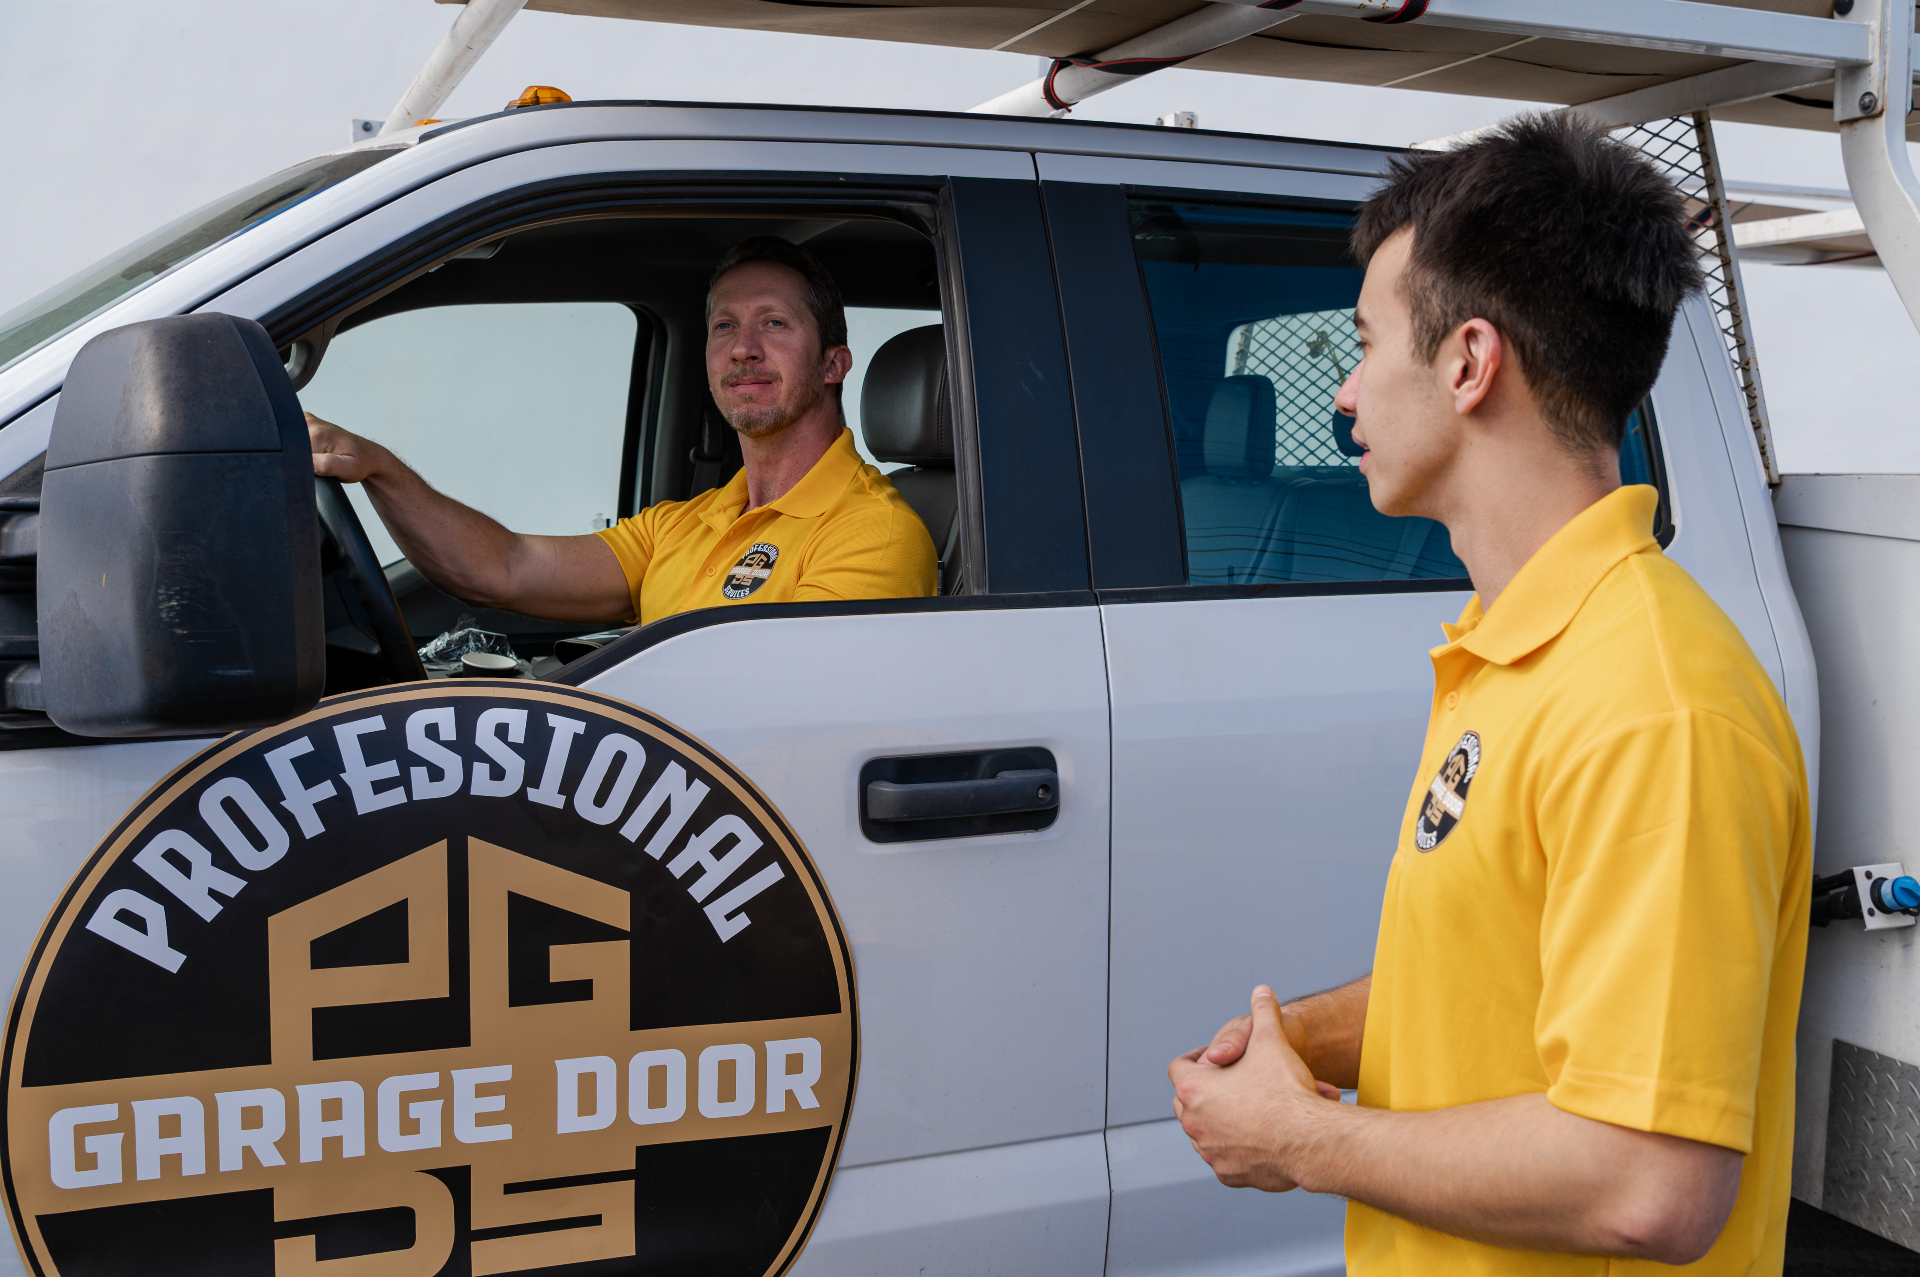
Certified technicians with years of experience dedicated to providing exceptional service.

Lead Technician

Installation Specialist

Senior Technician

Service Manager

Repair Technician

Master Technician

Installation Expert

Operations Director
"Excellent service! They fixed my broken spring the same day I called. Very professional and fair pricing."
"Best garage door company in the area. Installed a beautiful new door and opener. Highly recommend!"
"Fast, reliable, and honest. They diagnosed the problem quickly and had my door working in no time."
Expert tips, industry news, and guides to help you maintain your garage door.
Learn the warning signs that indicate your garage door needs immediate attention from a professional technician.
Read ArticleA comprehensive guide to selecting the perfect garage door style, material, and features for your property.
Read ArticleDiscover how smart garage door technology can enhance your home security and convenience.
Read Article